Suggested CamLynx Tethered Shooter WorkFlow
August 28, 2009 1 Comment
Suggested CamLynx Tethered Shooter WorkFlow
Camera Settings:
- Auto Rotation MUST be turned off
- Sleep Mode MUST be turned off
- Recommend using A/C power – NOT batteries
- Adjust your files size and quality to the smallest image that will produce an acceptable print at the largest size you offer. (A jpg that is approximately 1MB will provide an acceptable 10×13 or smaller print and will save transfer times on the computer.) Disclaimer: TEST for your own standards.
Computer Settings:
- No Screen Savers
- No Power Saving Mode
- No Hibernation
- Power by A/C – Not batteries
Suggested CamLynx Settings:
Be sure that the top search field in CamLynx is selected as the field that has the barcode data (Usually Record Number or Student ID).
Always Have Selected:
Imaging->Save RAW Photos
Imaging->Backup RAW Photos
Data->Enable Sequence Numbering
To print ID cards or Proofs on site:
Print->Auto Print
To Enter Packages Automatically:
Data->Packages->Auto Package Entry
To Automatically Select the images, instead of manually clicking on them & pressing save (F7) to clear the Hot Folder:
Imaging->Enable Proofing Mode
With this set, when you scan, it will automatically save the images and go to the next record.
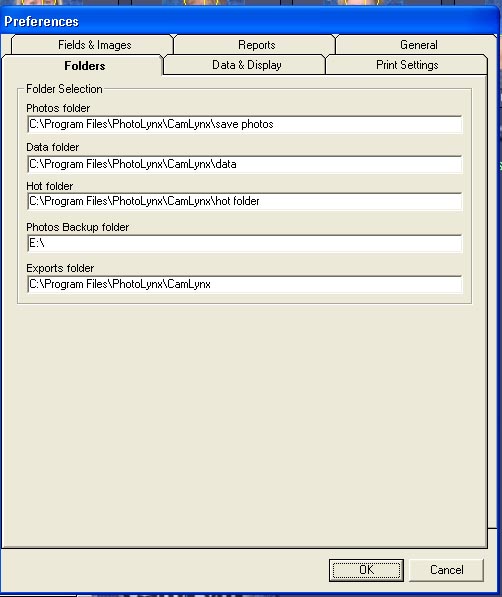
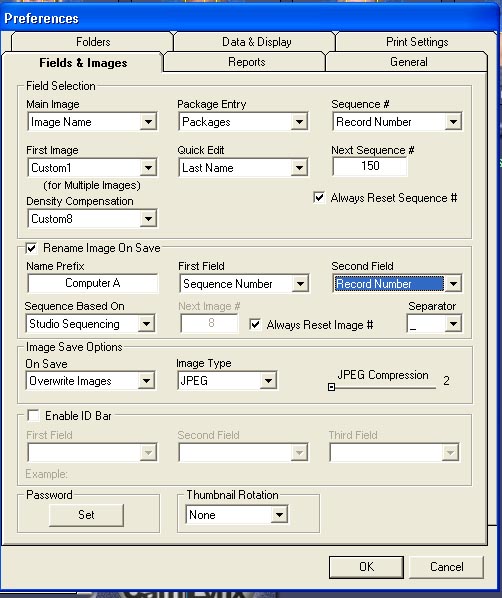
Screen Shoots for Preferences (FOR REFERENCE ONLY – You may have specific changes for your environment, but they should be close)
Click on image for a larger view.
Before shoot:
- Import Data
- Create Barcoded Camera Cards
- Create templates for IDs and/or proofs
- Be sure to test all equipment that will be used at the shoot, including barcode scanners, printers, and cameras AS IF THIS WAS A REAL SHOOT.
Set up at shoot:
- Connect Barcode Scanner
- Connect Camera
- Start Camera’s Software Interface (Nikon Capture, Cannon DSLR Remote, Fuji Hyper Utility, Olympus Studio etc).
- Test to make sure the camera is connected and working
- Calibrate Camera for White Balance and Exposure
- Connect Printer if necessary
- Test printer
- Start CamLynx
- DO A COMPLETE TEST RUN EACH MORNING TO MAKE SURE THEY ALL WORK TOGETHER.
Photographing:
- Distribute Barcode to Student
- Student to Approach Camera with Barcode In Hand
- Press F3 in CamLynx to focus on Search Field in CamLynx
- Photographer to Scan Barcode Card
- If Auto-Package Entry is Selected the package entry menu will appear
- Enter in package(s) Press OK
- Take Image(s) of student
- If Proofing Mode is Enabled: Repeat
- If Proofing Mode is not Enabled, Select your images while holding the ctrl key, choose F7 to save them, then repeat
At the end of the job, always be sure to export. Goto Export->Export for ImageMatch.

Can you make this into a PDF file that I can easily print out and follow?
Thanks.