CCIE Dynamips Home Lab
After two months of selling and buying on eBay, I’m happy to say my lab is done.

From the top down:
- Server to host dynamips (virtualizes 9 routers for a standard CCIE topology)
24 Port patch panel
Cisco 3560 24 port switch
Cisco 3550 48 port switch
Cisco 3550 24 port switch
Cisco 3550 24 port switch
IPpower remote power
Over the next few days, I’ll go over each component and how I set things up. Feel free to share your thoughts and ask questions.
The Operating System
It’s no secret that Linux is the OS of choice to run dynamips on. It’s fast, stable, and believe it or not, easy to use! For the record, I’m currently on 64-bit Ubuntu 9.10, but I am switching over to Gentoo in the near future.

First, this screenshot should convince you to at *least* dual boot into Linux for dynamips. Full load with a typical 13 device topology, I don’t think you can achieve this kind of efficiency with Windows, although it is closer with a Mac.
I first dabbled with Linux back in the early days (circa 1999) and it was a mess. Then 6 months ago I gave it a spin again and loved it so much that I wiped my Macbook Pro and ran Linux on it. That’s right, I actually run Linux on my Macbook Pro as the primary OS. I wonder what the Apple die-hards would say about that? 🙂
The Server
I’ve slowly become more “green” and energy-conscious over the years….so I had some basic requirements while building the server, which also serves as my primary desktop/media box while at home. One, it had to be SILENT. And secondly, it had to be energy efficient.
Looking at the various CPU’s, I decided on the i7 860. The benchmarks indicate that the 860 consumes less than the 920 and much less than the comparable AMD chips. I know benchmarks don’t equate to much in the real world, but at the end of the day we’re arguing over a few watts, and I felt pretty solid about the 860.
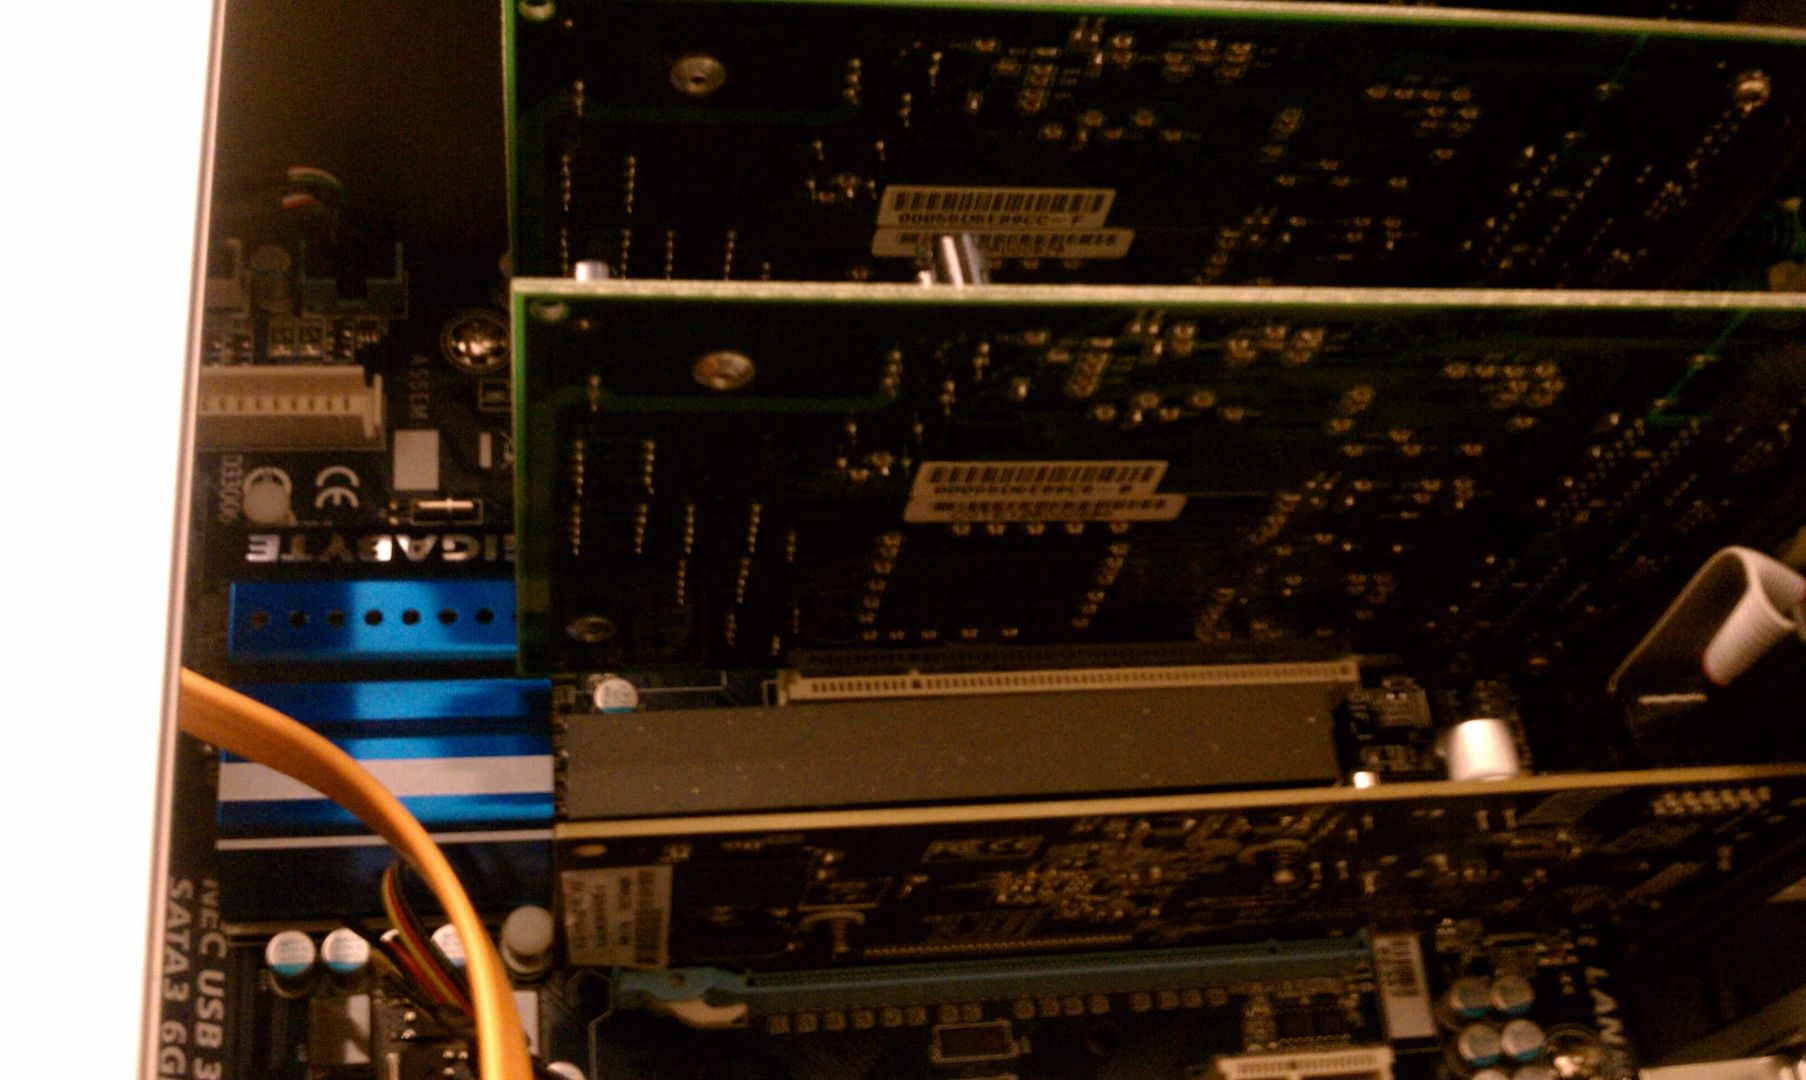
With the CPU decided, picking a motherboard became much easier. The only requirement here is that the motherboard supports 3(!) legacy PCI slots for the quad-port NICs we will need to install. (More on these later). Thanks to newegg’s nifty search engine, there are less than a dozen boards that support the chipset and PCI slot requirements. I went with a Gigabyte P55A-UD3 because of SATA6 support. I want a SATA6 SSD drive one day. 🙂
The PSU was also a simple choice. I wanted something modular to maximize air-flow. To conserve energy I wanted something 80 PLUS certified. I ended up with an Enermax 500 Whisper PSU that fit the bill. It’s silent and I feel good knowing it’s not sucking juice for no reason.
The hard drive and case fans are standard fare. 640GB WD Blue Caviar and a couple of “silent” Enermax fans.
I debated if I should go with a standard case or a server chassis but my good buddy over at ccie4u.info convinced me to go with the server chassis. Any 3U chassis will do unless you want to go 2U and get some adapters, but 3 PCI cards are probably pushing the heat to the limit. Go with a 3U case to be safe.
The final and probably most important part for dynamips is finding quad-port NICs that are compatible with your OS. Prices range from $50-300 per card so it’s unfortunately not something you can probably just pick up and try out. I can tell you with certainty that D-Link DFE 580TX cards run perfectly in Linux (both 32-bit and 64-bit). They are also nice and cool which is a bonus. Others have told me they have success with Adaptec NICs, but they tend to generate lots of heat.
I went with 4 GB of RAM which is still plenty for now. Some linux kernels can’t see all 4 GB’s unless you are running the 64-bit versions, so don’t go out and buy 8 GB of ram if your OS is only going to see 3 GB. 😉
Going with the “silent” theme, I wanted a fanless GPU. I didn’t need anything powerful (my Xbox 360 and PS3 satisfy the rare gaming urge) and Nvidia support is superior on Linux so I went with a Geforce 8400 card. Supports two monitors and works perfectly in Linux.
I also got a Dell 24″ monitor to go with it all.


That’s it for now, next time I’ll go over the rest of the gear and how I actually run things in the OS.

27 Comments
Jump to comment form | comment rss [?] | trackback uri [?]